Showing posts with label cards. Show all posts

4/04/2014

Radiant Neon Blog Hop


Welcome to the Radiant Neon Blog Hop! If you are just stopping by today, be sure to start at the very beginning on the CardMaker Blog


I made this fun card by spreading some Radiant Neon inks in a rainbow pattern on a piece of white cardstock. I didn't know how it would turn out, so I just played around. These inks are so fun and so beautiful that any card created with them will brighten someone's day. 


I thought this sentiment was PERFECT for this card. After adding that I finished it off with a beautiful bow. 

If you are following along and collecting the electric words today, your electric word from this stop is
RADIANT NEON

Your next stop on the hop is Lovely Linda Lucas: http://lovelylindascraftcentral.blogspot.com.au/


For your chance to win a FULL SET of these amazing Radiant Neon Inks, visit the Imagine Crafts blog for the full list of rules and find out how to enter! 

Thanks for stopping by today!

Products Used:
Imagine Crafts/Tsukineko: Radiant Neon Ink- Electric Pink, Electric Coral, Electric Orange, Electric Yellow, Electric Green, Electric Blue, Electric Purple; Fireworks- Tuxedo Black; Sponge Daubers
The Crafters Workshop: TCW219 Punchinella 6x6 Template
Unity Stamp Company: Delightful Little Things Stamp Set

12/12/2013

May Arts & Scrapbook Adhesives by 3L Blog Hop!

May Arts has teamed up with Scrapbook Adhesives for a week of inspiration!

For my project today I created this lovely little Winter card. I LOVE the 3D Foam Squares from Scrapbook adhesives! Whenever I use a lot of die cuts, I like to have lots of dimension and these little foam squares are perfect for adding dimension! They stick really well too! 

Some of my favorite go-to May Arts ribbons are the Jute String and the large Pom Poms. I use them on almost every single project that I create. 

Thanks for stopping by today! Don't forget to visit the rest of the Ribbonistas this week! 

Here are your stops this week:
Monday

Tuesday

Wednesday

Thursday

Friday


12/04/2013

May Arts Ribbonista Card Hop

Welcome to the Ribbonista Christmas Card blog hop! Be sure to check out the May Arts Blog to see all of the fabulous cards today! 

I created this fun card with the "Joyous" Paper Crafting Kit from Authentique Paper. I really love this kit because it came with these adorable file folders that easily double as cards! It also came with die cuts so creating this card was quick & easy! This kit is PERFECT for card making this holiday season! 

 A new love of mine is the large Pom Pom ribbon! This stuff is AWESOME! It gives a really nice finishing touch and dimension to all projects! Then again, ALL May Arts Ribbon gives a nice finishing touch! 

Isn't that bow PERFECT?! Well, my trick is simple actually... I used the new Bow-it-All from Zutter! If you love ribbon and want to make a perfect bow every time, you MUST own this tool! 

We've got PRIZES!
To win 3 spools from the May Arts Christmas Category, you simply need to post a comment on any stop along the way.

Products Used:
May Arts- 377-38-46, 462-09, 444-58-14
Authentique Paper- 
"Joyous" Paper Crafting Kit
Zutter- Bow-it-All
Petaloo- Flowers
DCWV- Gem Stickers

11/13/2013

Autumn All-in-One Envelope/Note Card

Happy Fall ya'll! It's gotten quite cold here in Ohio and we've even seen our first snow already! Yes that's right, I said the dreaded S word! The crisp air had me excited to create Fall projects. 

I am in LOVE with DCWV's new Pumpkin Patch stack. The rich colors are perfect for this time of year! I created this cute little envelope/note card to share today. This was so easy to make! I'm going to share how you can create this yourself!

Start out by cutting your envelope template. You can use any square die and a decorative edge die. You will need 2 squares and one with a decorative edge for the envelope flap. 

Roll out some color onto your envelope with a brayer and Kaleidacolor pad. Ink edges with an ink blusher by coordinating colors from the ink pad. 

Tape the shapes together with washi tape. You may need to cut the shapes down a little so they fold inside each other like an envelope.

Cut the same shapes with patterned paper and adhere to inside.

Mist some bare embellishments with coordinating Fireworks colors. 

Glue ribbon to a smaller piece of paper and add to the bottom part of the envelope. Add between the flap and patterned paper as well. This way you can tie your envelope shut.

So simple, right? These would make perfect little place cards on a Thanksgiving table. 

You can even leave a little note inside for your guests and let them know why you are Thankful for them!

Thanks for stopping by today! 

Products Used:
DCWV- Pumpkin Patch Stack, Corrugate Naturals 6x6
Imagine Crafts- Kaleidacolor: Autumn Leaves; Fireworks: Potter’s Clay, Bamboo Leaves; Ink Blushers
May Arts- SM27, AF38
Basically Bare- Flower & Leaves Embellies
Epiphany Crafts- Round 14 tool & bubble caps
Speedball- Brayer
Spellbinders- A2 Matting Basics, Creative Book Pages

7/11/2013

May Arts & Lawn Fawn Blog Hop

Welcome to the May Arts & Lawn Fawn blog hop! We started this hop on Monday, so if you are just stopping by today, be sure to visit the May Arts & Lawn Fawn blogs to get the full lineup for the week! 

When I was told we would be working with Lawn Fawn, I got excited, I was immediately drawn to the adorable "Admit One" stamp set. I paired it with the Lawn Fawn "Dewey Decimal" paper pad because the colors were bright and fun.

I decided to try my hand at some cards today. I can't take full credit for the idea, I stumbled across it on Pinterest and fell in love with the little paper bags as envelopes. 

I added some of my favorite ribbon from May Arts, Teal Metallic Velvet (377-38-15) and Natural burlap string (SM09).


We are also having 2 giveaways of 3 spools of ribbon along with 1 stamp & die set. The first giveaway will take place Monday- Friday, the second will be over the weekend, Friday-Monday. Visit the May Arts blog for more details! 

Don't forget to visit ribbonistas Erin Thiem and Leah Farrar-White who are also up today with some great projects!


Products Used:


1/23/2013

May Arts & CardMaker Magazine Blog Hop!

Welcome to the May Arts/ CardMaker Magazine blog hop! If you came from Dee Dee's blog, you're on the right track! If not, be sure to start back at the beginning by visiting The CardMaker Magazine blog!

For my card, I thought I would stick with the upcoming Valentine's Day theme... so I worked with the "Lovely" collection from Authentique Paper. 

I tried a new technique that I learned at CHA last week... but it didn't turn out how I envisioned when I added it to my card...

First, take your ribbon (I used EA09 which is very similar to seam binding) and tape off sections with washi tape. 

Next, spray your ribbon with your favorite mist. The washi tape should create a mask and leave sections of your ribbon plain. Mine didn't work... I think the mist went through this particular washi. The technique DOES work though. I tried it at CHA and it turned out really neat. I need to invest in some thicker washi. I would assume this would work with painters tape or masking tape, you just want to be sure to use a tape that will peel off of your ribbon and not leave sticky residue. 

Another good tip... if you have white ribbon and need a desired color- use mists! I buy a lot of my ribbons in white or cream just so I can get some use out of my mists and match colors to other embellishments. 

May Arts will be giving away 4 spools of lovely ribbon (winners choice)... all you have to do is comment along the way! 
Now hop along to Erin Thiem's blog for more inspiration! 

Products Used:
May Arts- EA09, XL16, 393-25-17
Authentique- "Lovely" 12x12 & Details Stickers
Heidi Swapp- Color Shine-Tinsel

12/21/2012

Do All Things with Love


I've been on a tp roll mini album kick here lately. I just love making them! This particular one I played with a lot of new products to create it. I just LOVE how it turned out! Perfect for Spring, Mother's day, or just every day photos. 

I used some new products that I received from Art Anthology on this cute little album. To paint the base (tp rolls), I used AA Sorbet in Sand Dune. I really love the sorbet, it's kind of like a thick paint with chunky glitter. Really pretty! I also used the sorbet on the little clear acrylic bird, the color that i used was Viridian. I really love this color and it brings out the pretty greens in this paper collection. Another AA product that I tried on this project was the colorations spray in "Juicy" it's just a mist but it's not shimmery, so it's a good way to dye ribbons or embellishments that are plain. I used it on the little orange bird and the orange ribbon flower. 

Isn't the paper collection that i used beautiful? I am not at all a fan of pastel colors. Spring is my least favorite season to craft simply because pastels don't work well with me. This paper however, I love. It's from the Sweet Blossom stack from DCWV. 

Of coarse, what mini album of mine wouldn't be complete without LOADS of ribbon fro May Arts! Seriously, May Arts has the best ribbon around, hands down. I think I'm kind of a ribbon snob now, I won't even look at the craft store ribbons! lol 


I also decided to use this beautiful paper for a layout as well. I had a few scraps from the mini album and I hate to waste pretty paper!

I love printing instagram pics from postalpix. 

I decided to use a little candid pic of my daughter and I. These little pics are always good for something! 


Lastly, I made a little card with some of the other scraps. I couldn't resist adding a little bird. 

Thanks for stopping by!

11/15/2012

Give Thanks!

With Fall in the air and Winter right around the corner, I figured what better time than now to get some Fall crafting finished before it's too late! 

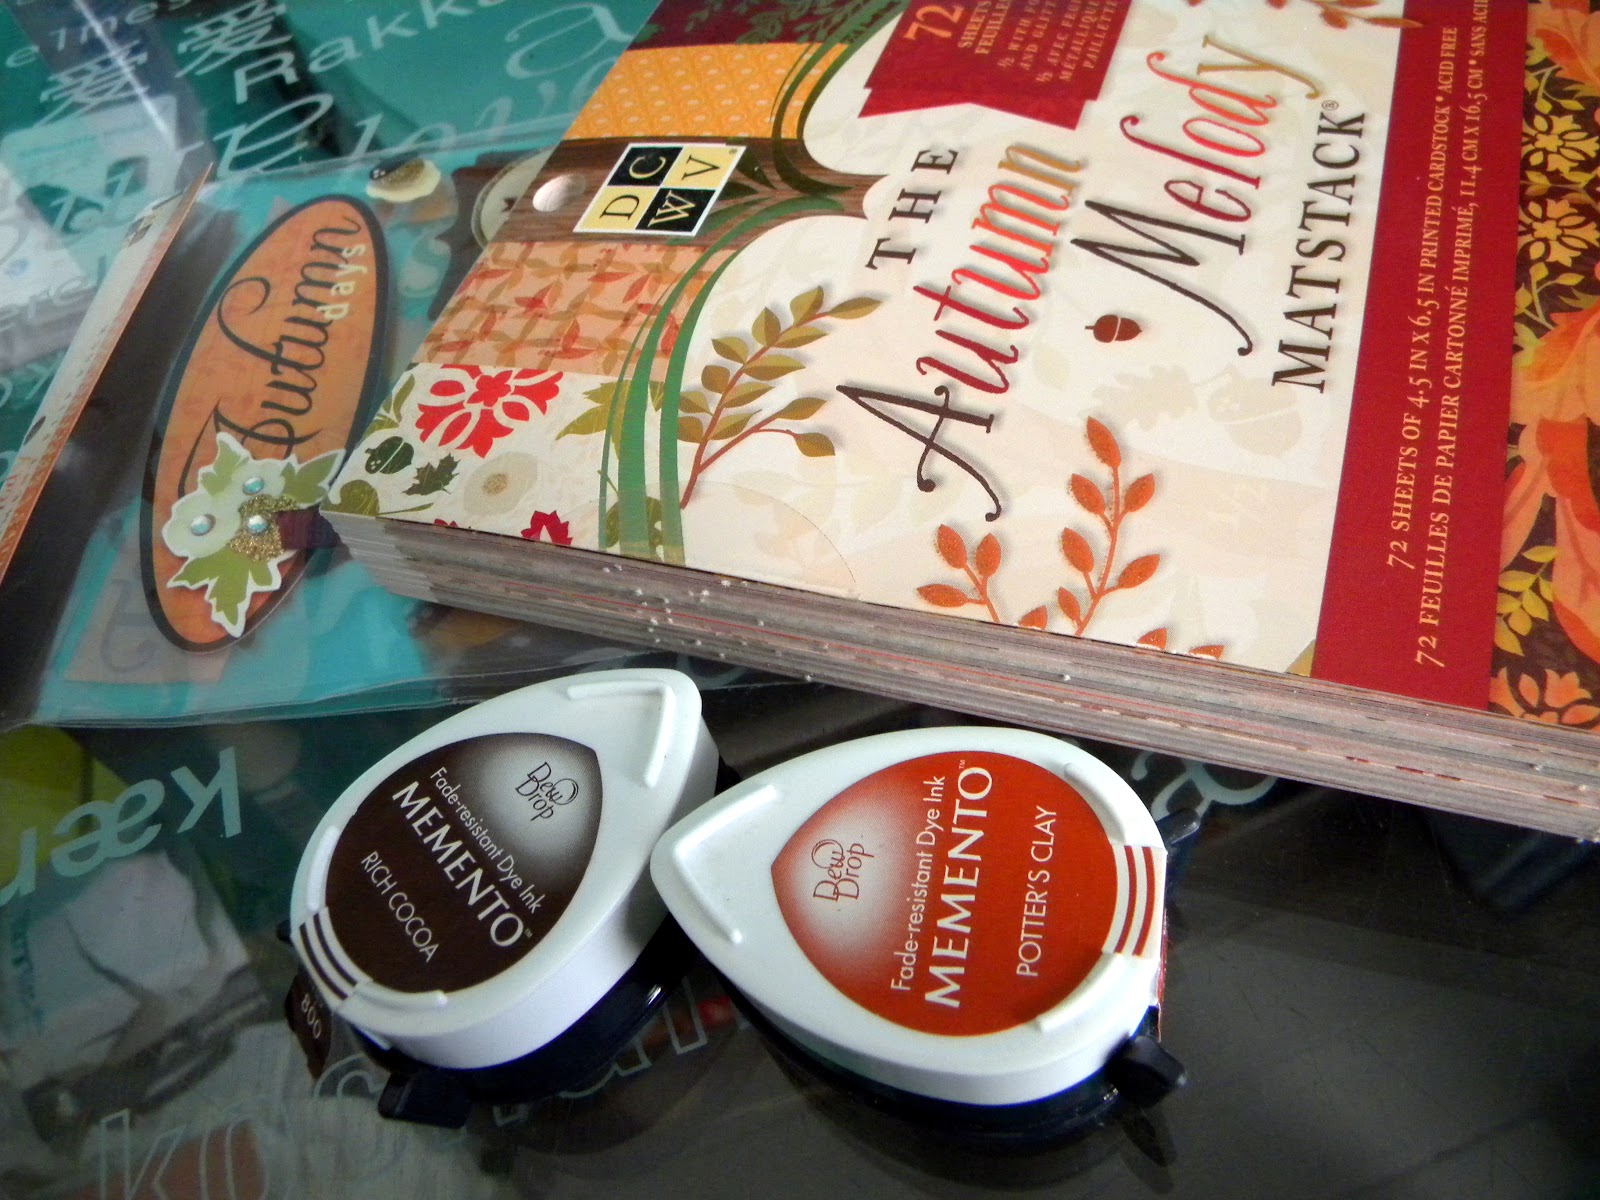
I LOVE the Autumn Melody stack by DCWV. It's beautiful. The warm, right colors just make you want to go outside and look at all of the beautiful colors. 

I made a little card using the Autumn Melody mat stack and some of the epoxy stickers. 

I think it's a perfect gratitude card! I love the gold foils in some of the papers that are in this stack! Simply elegant! 

I didn't stop there!!! Make sure you stop by the May Arts blog later today to see this project that is loaded with lovely ribbon and DCWV papers! 

6/29/2012

Dear Lizzy...

Ok, a little confession.. I have owned the Dear Lizzy Neapolitan paper collection by American Crafts for quite some time now, and I am just getting it out to play with... I do this quite a bit, but I am guilty of having a fear of cutting up pretty paper! 

So today my friends, I not only did one, but TWO projects with the Dear Lizzy line! 


For my first project, I made a layout. I have had these photos for way too long and they needed to be put to a good use! 


This is my sweet baby Reagan when she was just 2 months old... now she is 4, so yes, it was time to put them on a page!


Here's a little close up... I used pop dots under all of the photos for some added dimension.

Next up, I used some of my scraps and made a sweet little card!


I hand cut all of the flower petals and inked them up. I wanted some dimension... because I LOVE dimension, so I folded them in half and glues them from the spine.


Thanks for stopping by today! I hope you have a great weekend!